
Health
Achieving perfection through repeatable methodology.
Do a quick search for “how to cook the perfect steak” and you’ll have a seemingly infinite number of people purporting themselves to have found the best method. And with good reason - mastering the art of preparing a steak is an important achievement to unlock, and worth celebrating.
What will follow is my personal distillation of insights and techniques for cooking the perfect steak, cobbled together through years of research and testing. While there is no “one way” to cook a steak, knowing why you choose to do something (or not do something) is critical to the goal of elevating the centerpiece of your dinner.
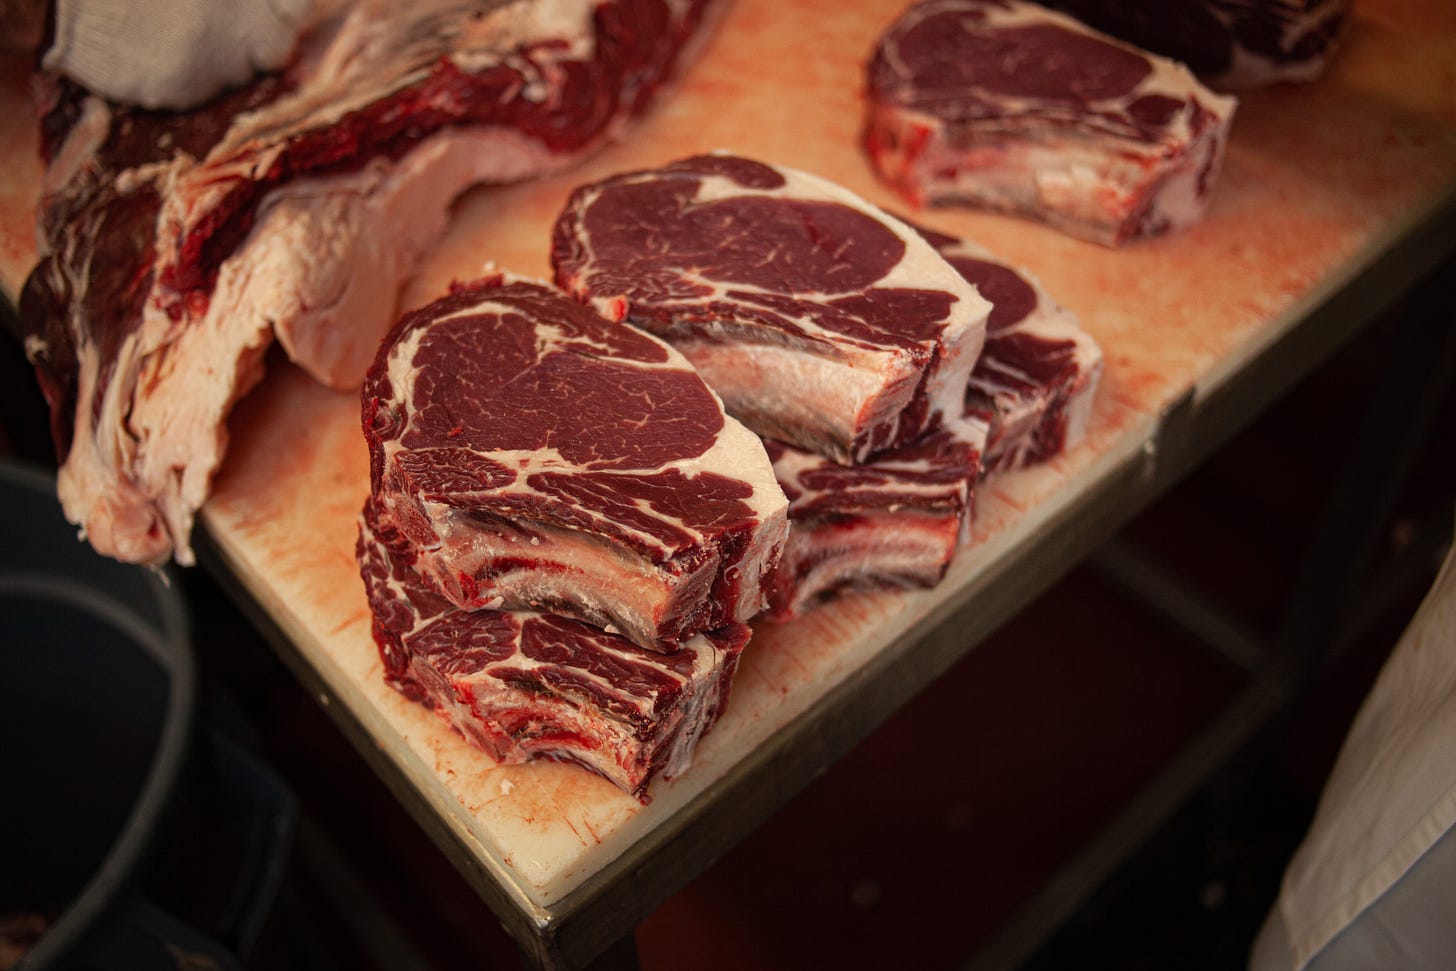
In almost all the steak articles and recipes you’ll find online, what gets overlooked is the source of the meat itself. Sure, you can go to the fancy butcher in town and get a beautiful steak for $50-80, but when buying in bulk you can pay closer to $20 for that same cut. This approach guarantees you both variety and quality without breaking the bank.
Sourcing is discussed at length in previous articles on this website. I encourage anyone arriving here for the first time to go back through the archives, in particular this one on how to find a good producer:

Aside from cost, another often overlooked advantage of buying in bulk is the ability to provide custom specifications for the cutting of your steaks. While many steaks, particularly ribeyes, are typically cut to a standard 1-inch thickness, opting for a heftier 1.75 to 2-inch cut allows for a more controlled cooking process, ensuring a juicy, evenly cooked steak.
With a great cut of meat procured, the task at hand is to honor the animal by executing on the preparation. Before going through my primary strategies for getting great results every time, I want to briefly touch on some of the cooking methods I don’t recommend.
Traditionally, cooking a steak has meant placing it on high heat, either in a pan or over a grill, to develop browning or a crust on the exterior. Then, it's moved to a lower temperature to allow the inside to cook until the desired doneness is reached. The problem with this method is that in order to cook the interior to the desired medium-rare, you will have a large portion of the steak that is overcooked. What’s missing from this method is temperature control.
Enter the "sous vide"method. A French term that translates to “under vacuum”, the steak is placed in a plastic pouch or a glass jar and then cooked in a water bath at a precisely regulated temperature. However, there are two critical factors that make me uninterested in sous vide.
Cooking meat in a sealed plastic bag eliminates the ability for the steak to concentrate its flavors through the evaporation of moisture - the juices will remain in the bag and the steak submerged in liquid. When you subsequently sear the steak before serving, the moisture content will still be high and will lower the surface temperature while steaming off the liquid, lowering the potential for a great crust.
Another significant issue with sous vide is cooking food in a plastic environment. We're surrounded by plastic – it's in our food, water, and clothing - leading to an unprecedented saturation of microplastics in our bodies. While it is often argued that the plastic used in sous vide doesn't leach byproducts or chemicals into the food until it reaches a higher temperature, I'm not willing to take this risk. Frankly, there are better methods to achieve the same temperature control without using plastic.
The good news is that you can get the benefits of temperature control like you would from sous vide without the plastic, but more on that later.
But enough with the preambles. What follows is my step-by-step guide to cooking an incredible steak, along with explanations as to why to take this approach.
Brining is a term used to describe soaking a cut of meat in salty water. Dry brining simply removes the water from that equation by applying the salt directly to the cut of meat and letting it sit in the refrigerator. This method has gained significant interest in recent years due to being a far superior method, and here’s why:
Your average cut of beef is about 75% water with lots of water-soluble flavor compounds. When you submerge a steak in a briny liquid, there is an exchange of fluid that will unfold, resulting in some salt being imparted into the meat at the expense of flavor compounds getting flushed out into water bath.
In contrast, when salt is applied directly to the surface of the meat, it starts by drawing moisture to the surface and the salt is dissolved. After about an hour, the now salty moisture will be reabsorbed, drawing that salt deep into the steak. If left uncovered in the fridge, the steak will then start to evaporate any remaining moisture from the surface.
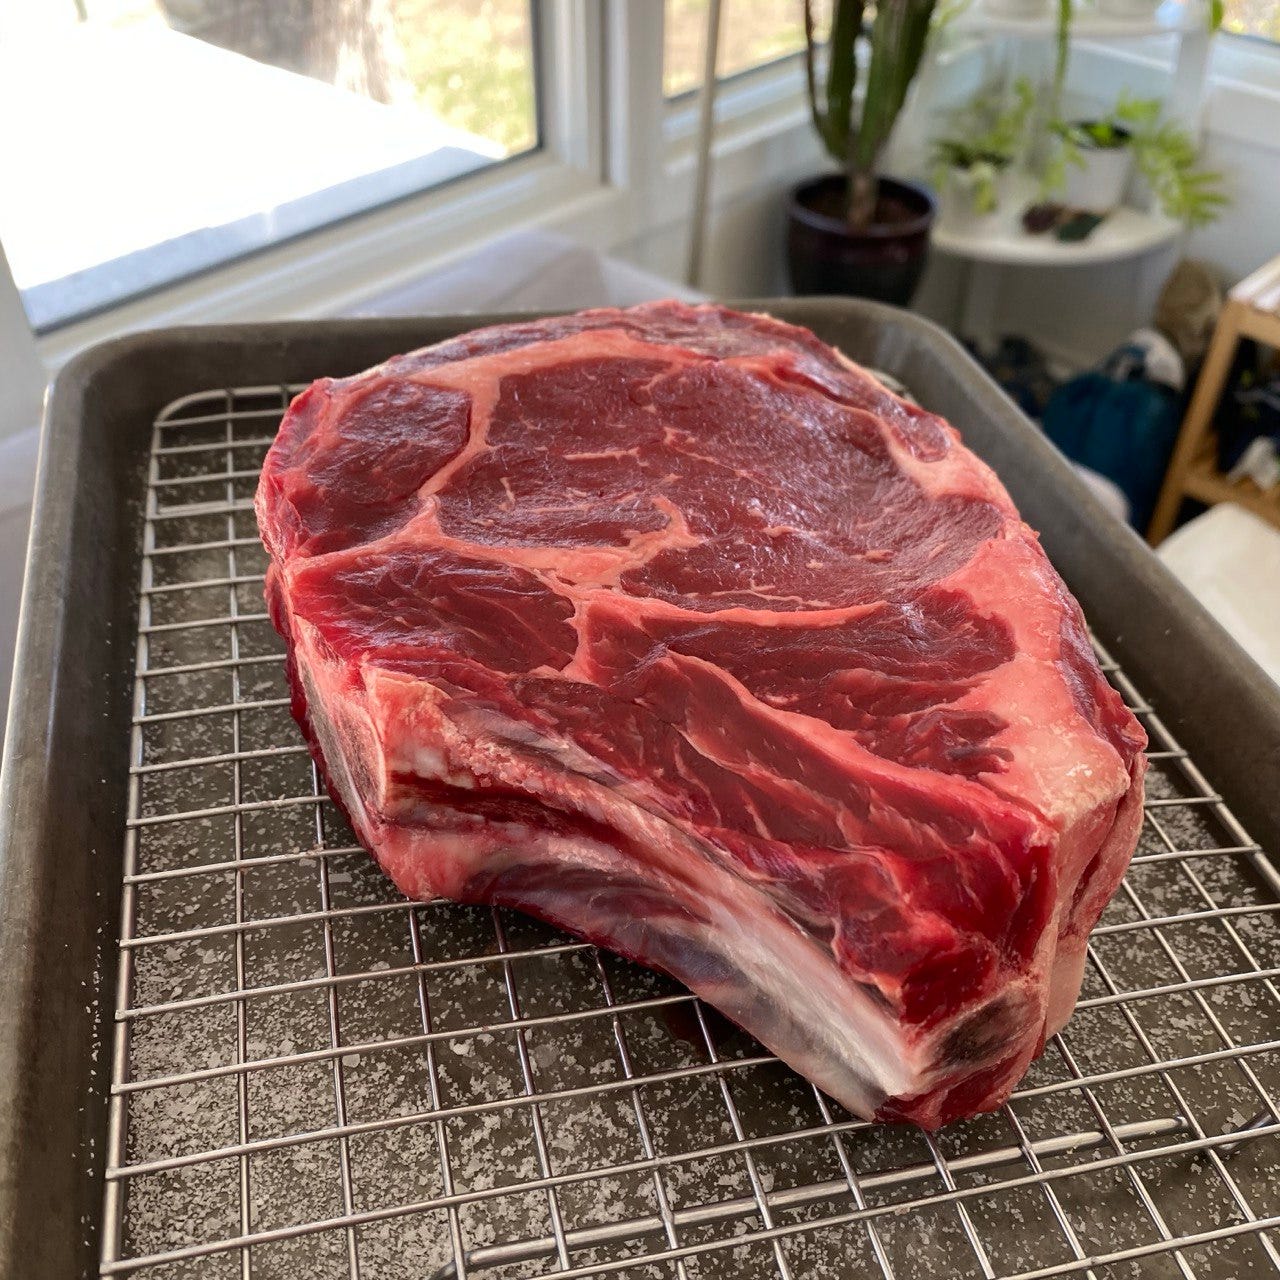
Method: To dry brine, use approximately 1 gram of salt per 100 grams of meat (or 4.5 grams per pound). Apply evenly to all sides of the cut, then place uncovered on a metal rack nested in a sheet pan or plate in the fridge.
How long? At least a few hours, ideally overnight. Most steaks can handle 2-3 days before the outside starts to toughen and the meat begins to effectively cure.
I don’t understand the fascination with people wanting to cook meat without the use of a temperature probe. Sure, if you’re a line cook and are making the same dish hundreds of times a week, you start to build muscle memory on how long it should take. But it’s 2023 and humanity has created instant-read thermometers that allow you to literally look inside your food as it cooks. The gold standard is the Thermapen by Thermoworks, although there are upstart competitors that could also be worth trying. Either way, this is a tool you should absolutely have in your toolbelt. Another very useful thermometer is a leave-in probe, which allows you to keep tabs on your meat while it’s in the oven and ensure you don’t overshoot your desired temperature.
It may seem counterintuitive to place a steak uncooked in a lukewarm oven, but that is exactly what I’m suggesting you do. By starting out in a low temperature environment, the steak is allowed to come up to your desired internal temperature with greater uniformity than slamming it in a hot pan. Using a temp probe to monitor the temperature is critical in a standard oven because the temperature fluctuations can be 30-60° above and below that setting.1 However, if you set the oven to its lowest temperature, it won’t rise much above 200°F and you can still avoid the worst of the grey banding.
For those looking to upgrade this part of the cooking process, I have used an Anova Precision Oven for the past three years and have been thoroughly impressed. It allows for the same temperature control as you would get from a sous vide bath, but without the plastic.
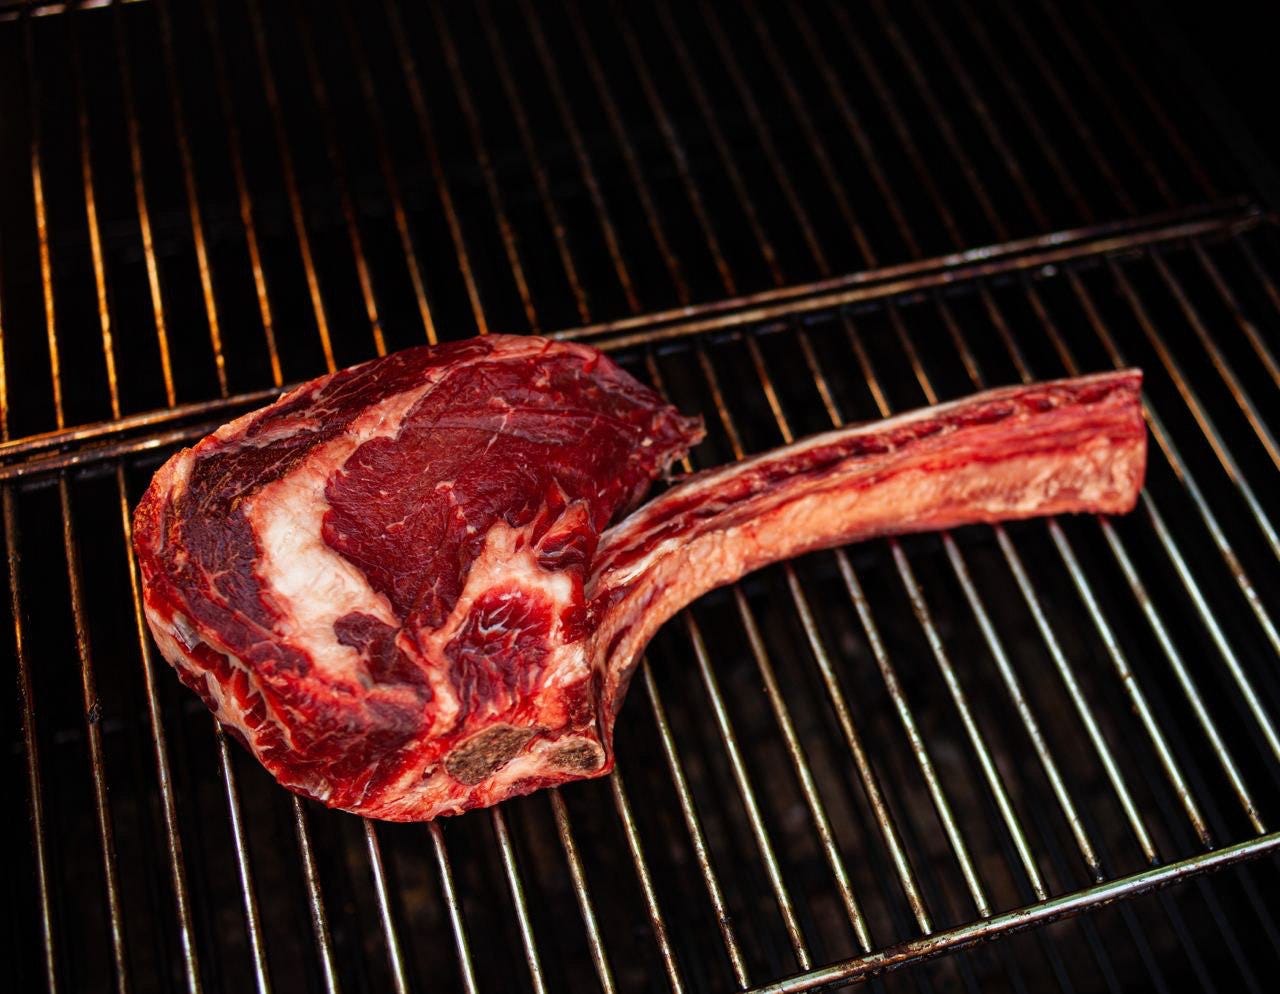
Another option for this step is to use a smoker, which can be appealing for those who love the wood flavor normally imparted by a grill. However, be aware that pellet smokers can fluctuate in ambient temperature more than a standard oven, requiring close monitoring to prevent overcooking.
Reaching your desired internal temperature is largely dependent upon the ambient temperature outside your cut of meat. For example, if you are cooking a steak in a pan where the surface is 400°F, you can expect there to be a significant amount of carryover meaning that the force being exerted on the cut of meat is so substantial that it continues to push that heat into the meat even after you've removed it from the heat source.
You can think of the surface of your steak like a battery - the longer you apply extreme heat, the more that heat potential is stored for future deployment.
Conversely, when the ambient temperature is 130°F there will be almost no carryover as it reaches that desired temperature. It’s another reason I appreciate the steam oven so much - when it arrives at the temperature that I want it at, I can simply turn it off and know that I have achieved that temperature.2
Once your steak has reached the optimal desired internal temperature, putting it directly into a hot pan to sear will continue moving the cooking forward and result in an overcooked steak. Instead, put it back on the rack inside the sheet pan and let it rest in the fridge. The goal here is to reduce the surface temperature. (Don’t worry, the interior temperature barely drops.) And in doing so, it means that once you are ready to sear, that sudden shock of intense heat is not overcook the steak.
A thicker steak can hang out in the fridge for up to an hour without losing internal temperature, but 20-30 minutes is plenty.
After resting, pat the meat dry to remove any excess moisture. Moisture will undermine the ability to quickly form a good crust because the steam emitted with lower the surface temperature.
The Maillard reaction is defined in this Serious Eats article as: “many small, simultaneous chemical reactions that occur when proteins and sugars in and on your food are transformed by heat, producing new flavors, aromas, and colors.“ It’s where huge amounts of flavor development occurs, and a critical part of making a basic steak into a magical sensory experience.
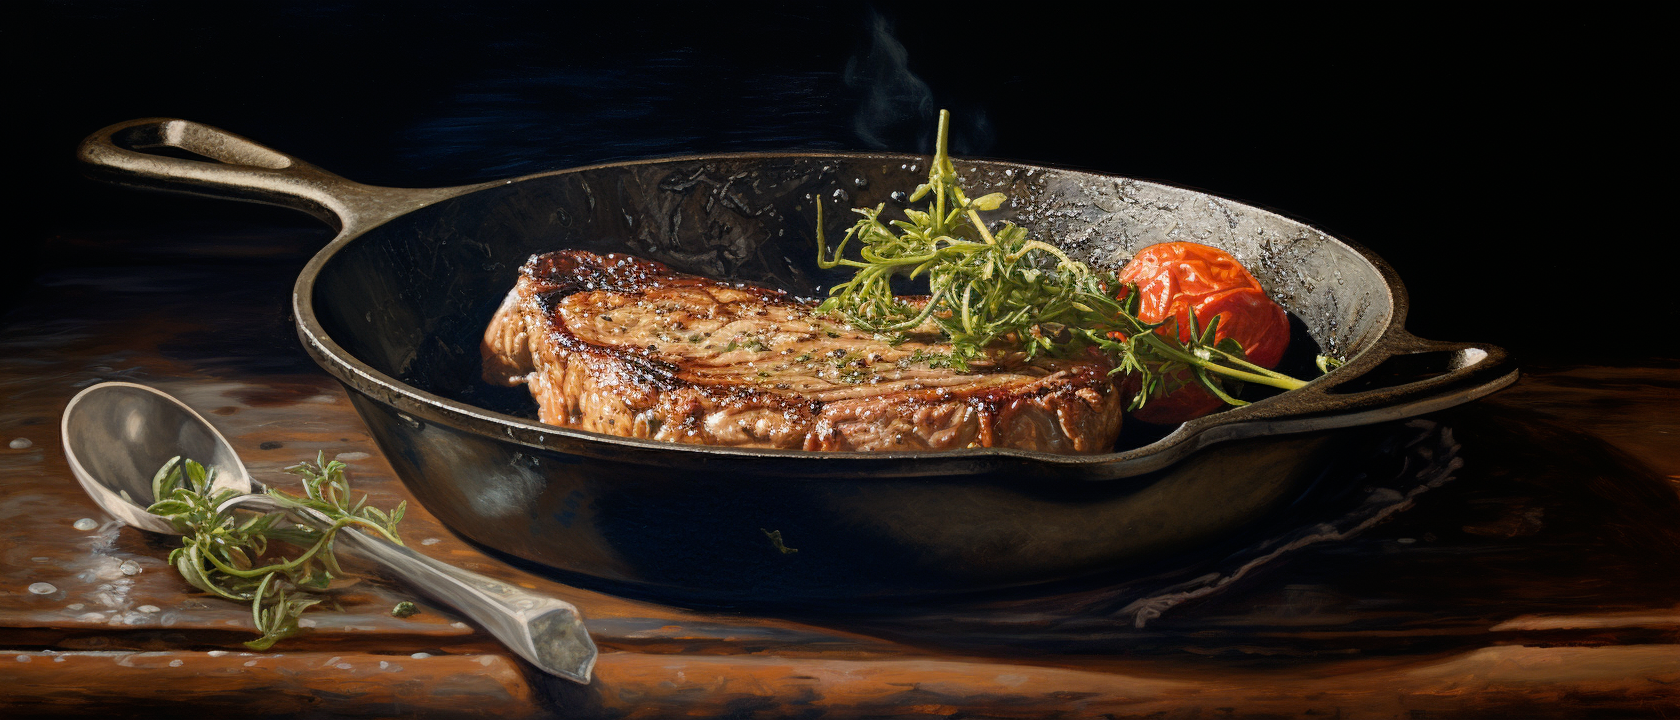
There is a lot of contention as to whether a cook is better when grilled vs pan seared. Unless you have an Argentine grill that you intend to keep hot for the whole day, or you’re cooking a Beefsteak for 200 people, getting the final sear on a steak that has been reverse-seared is going to be impractical. For an average weeknight dinner, pan seared in cast iron is the way to go. And while I love the flavor developed by cooking over open fire, this is just as easily achieved by reverse searing on the smoker first.
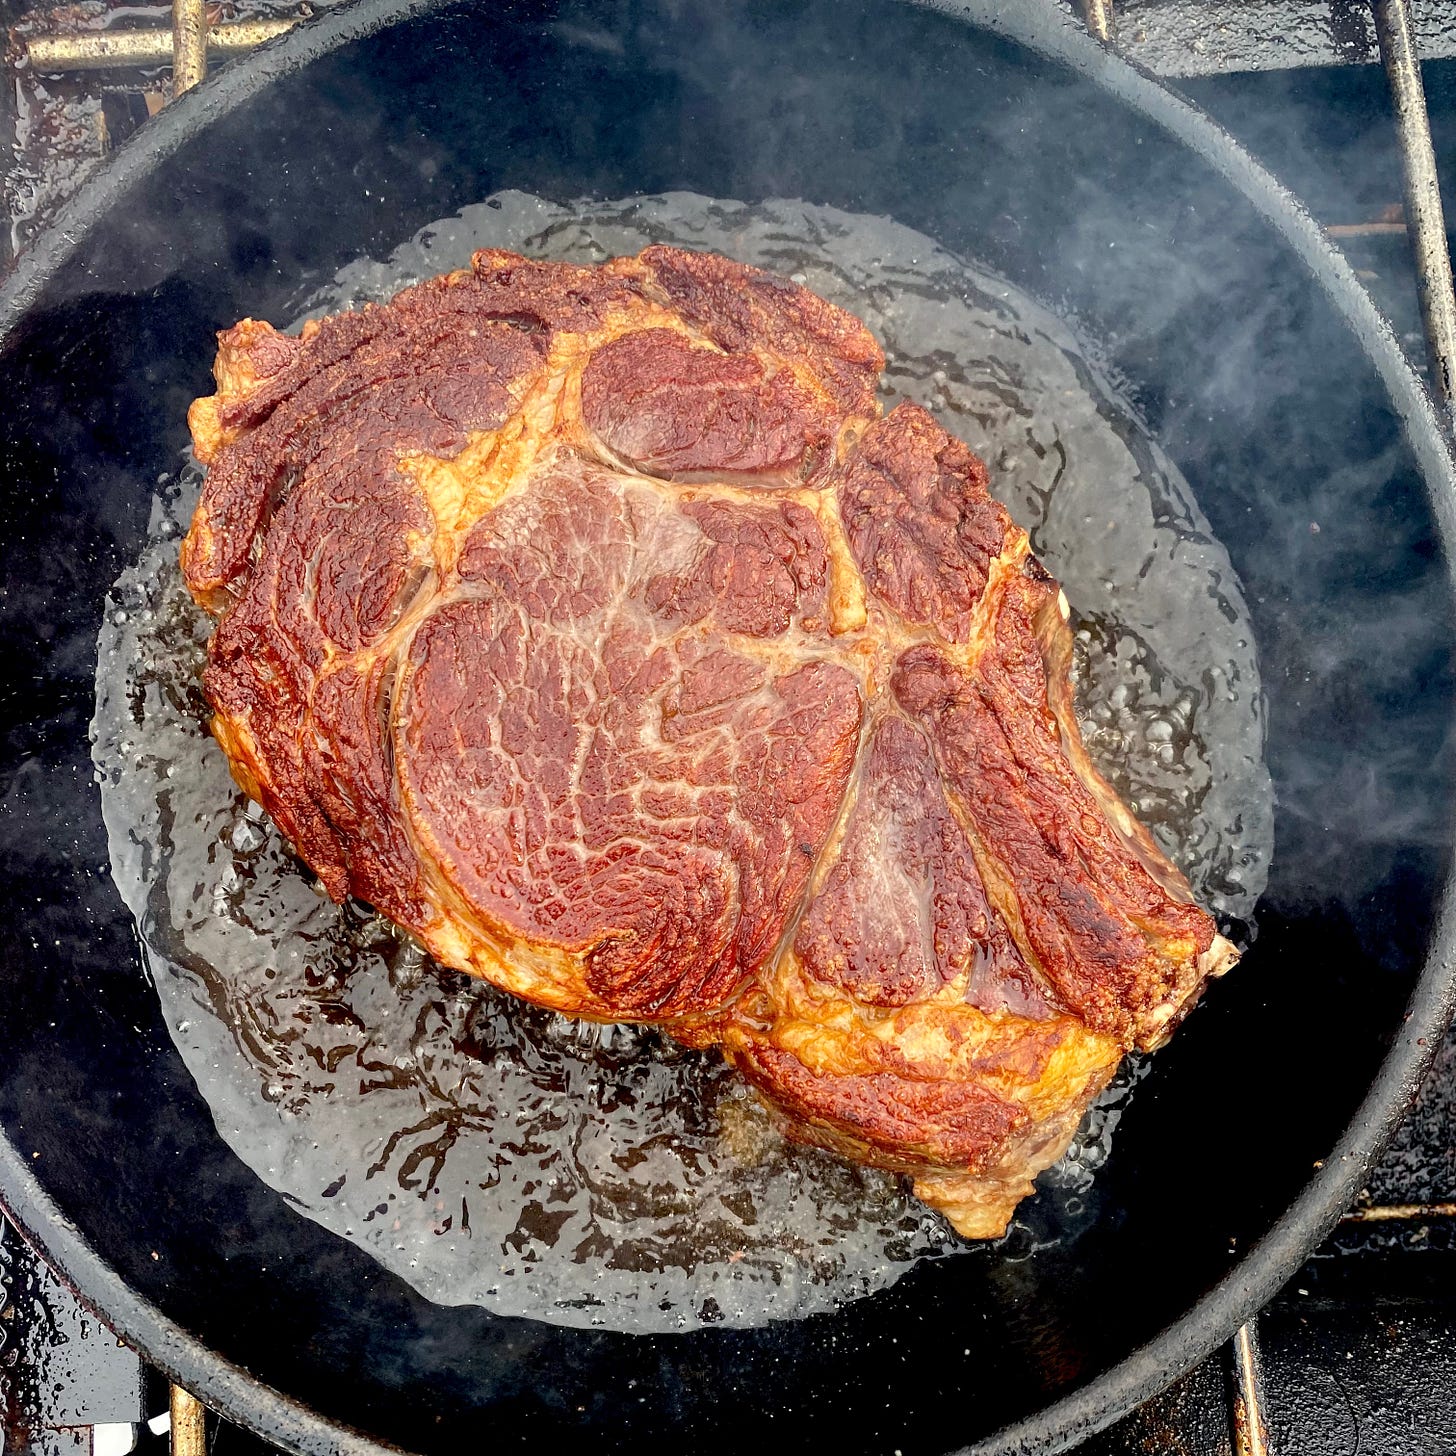
People will often believe that the only way to get a good crust is to get a pan absurdly hot. Yet hotter doesn’t mean better - in fact, quite the opposite. Once you go beyond 400°F, charring will begin to happen. And while a bit a of char flavor might be desirable, too much can mask the fantastic flavors that were created by the Maillard reaction. By cooling the surface prior to searing, you give yourself more time to build a crust without ending up with too much char. Plus, if you have any desire to make a pan sauce, you’ll want to avoid the burned flavor in your fat and fond. (Your spouse will also appreciate not having the whole place smell like smoke.)
To sear, get your pan heated to about 380-400°F3, then add a healthy fat with a high smoke point (tallow or ghee are my personal favorites for this task), enough fat to cover the bottom of your pan. Place the steak into the pan and leave undisturbed for 30 seconds, then flip every 30 seconds for 4-6 minutes. It may not seem like much is happening at first, but patience will be rewarded.
Another advantage of the reverse sear: upon finishing the final sear you can carve and serve right away. Resting your steak is normally required to ensure better moisture retention, but this is largely a result of the heat continuing to increase and constricting the muscle fibers. Because the final sear doesn’t have a massive impact on the internal temperature, this step is no longer necessary.

1 https://cooking.stackexchange.com/questions/66367/how-much-thermostat-range-in-oven-temperature-is-too-much
2 A great video on this subject was created by Chris Young: Why Ripping Hot Is Too Hot?
3 A basic infrared thermometer is great for checking surface temperatures. Many available options on Aamzon: https://www.amazon.com/dp/B0BN317X6Z/
Originally published in Primal Cut Sheet